

Our household will get a lot pleasure from our vacation introduction that I made a decision to make a Halloween countdown for October. This venture is primarily made with glue, so it’s fast to assemble with no stitching required.
Associated: Take a look at our whole Halloween archive of spooky decorations, recipes and extra! You’ve Been Booed (with Free Printable), Halloween Cake Pops, Caramel Apples.
 Aunt Emma (as she is thought in my home) got here up with the concept to make our women a Halloween countdown calendar. I instantly stated “YES, YOU’RE BRILLIANT.”
So why not begin this enjoyable (and really spooky!) custom to take pleasure in somewhat little bit of Halloween magic all month lengthy in October? I just about got down to make a Halloween model of our Christmas introduction calendar since we love that one a lot.
We created this Halloween exercise printable. My suggestion is to make use of a mixture of actions after which in a few of the days, simply put in a sweet. And, use a calendar to strategically place the films on the weekends (or no matter changes are greatest for your loved ones’s routine).
Be at liberty so as to add your individual actions and traditions. The printable we made is principally simply stuff my little children would take pleasure in and nostalgia from my childhood. Different issues you’ll be able to embrace are stickers or coloring pages. Customise it to suit your kiddos!
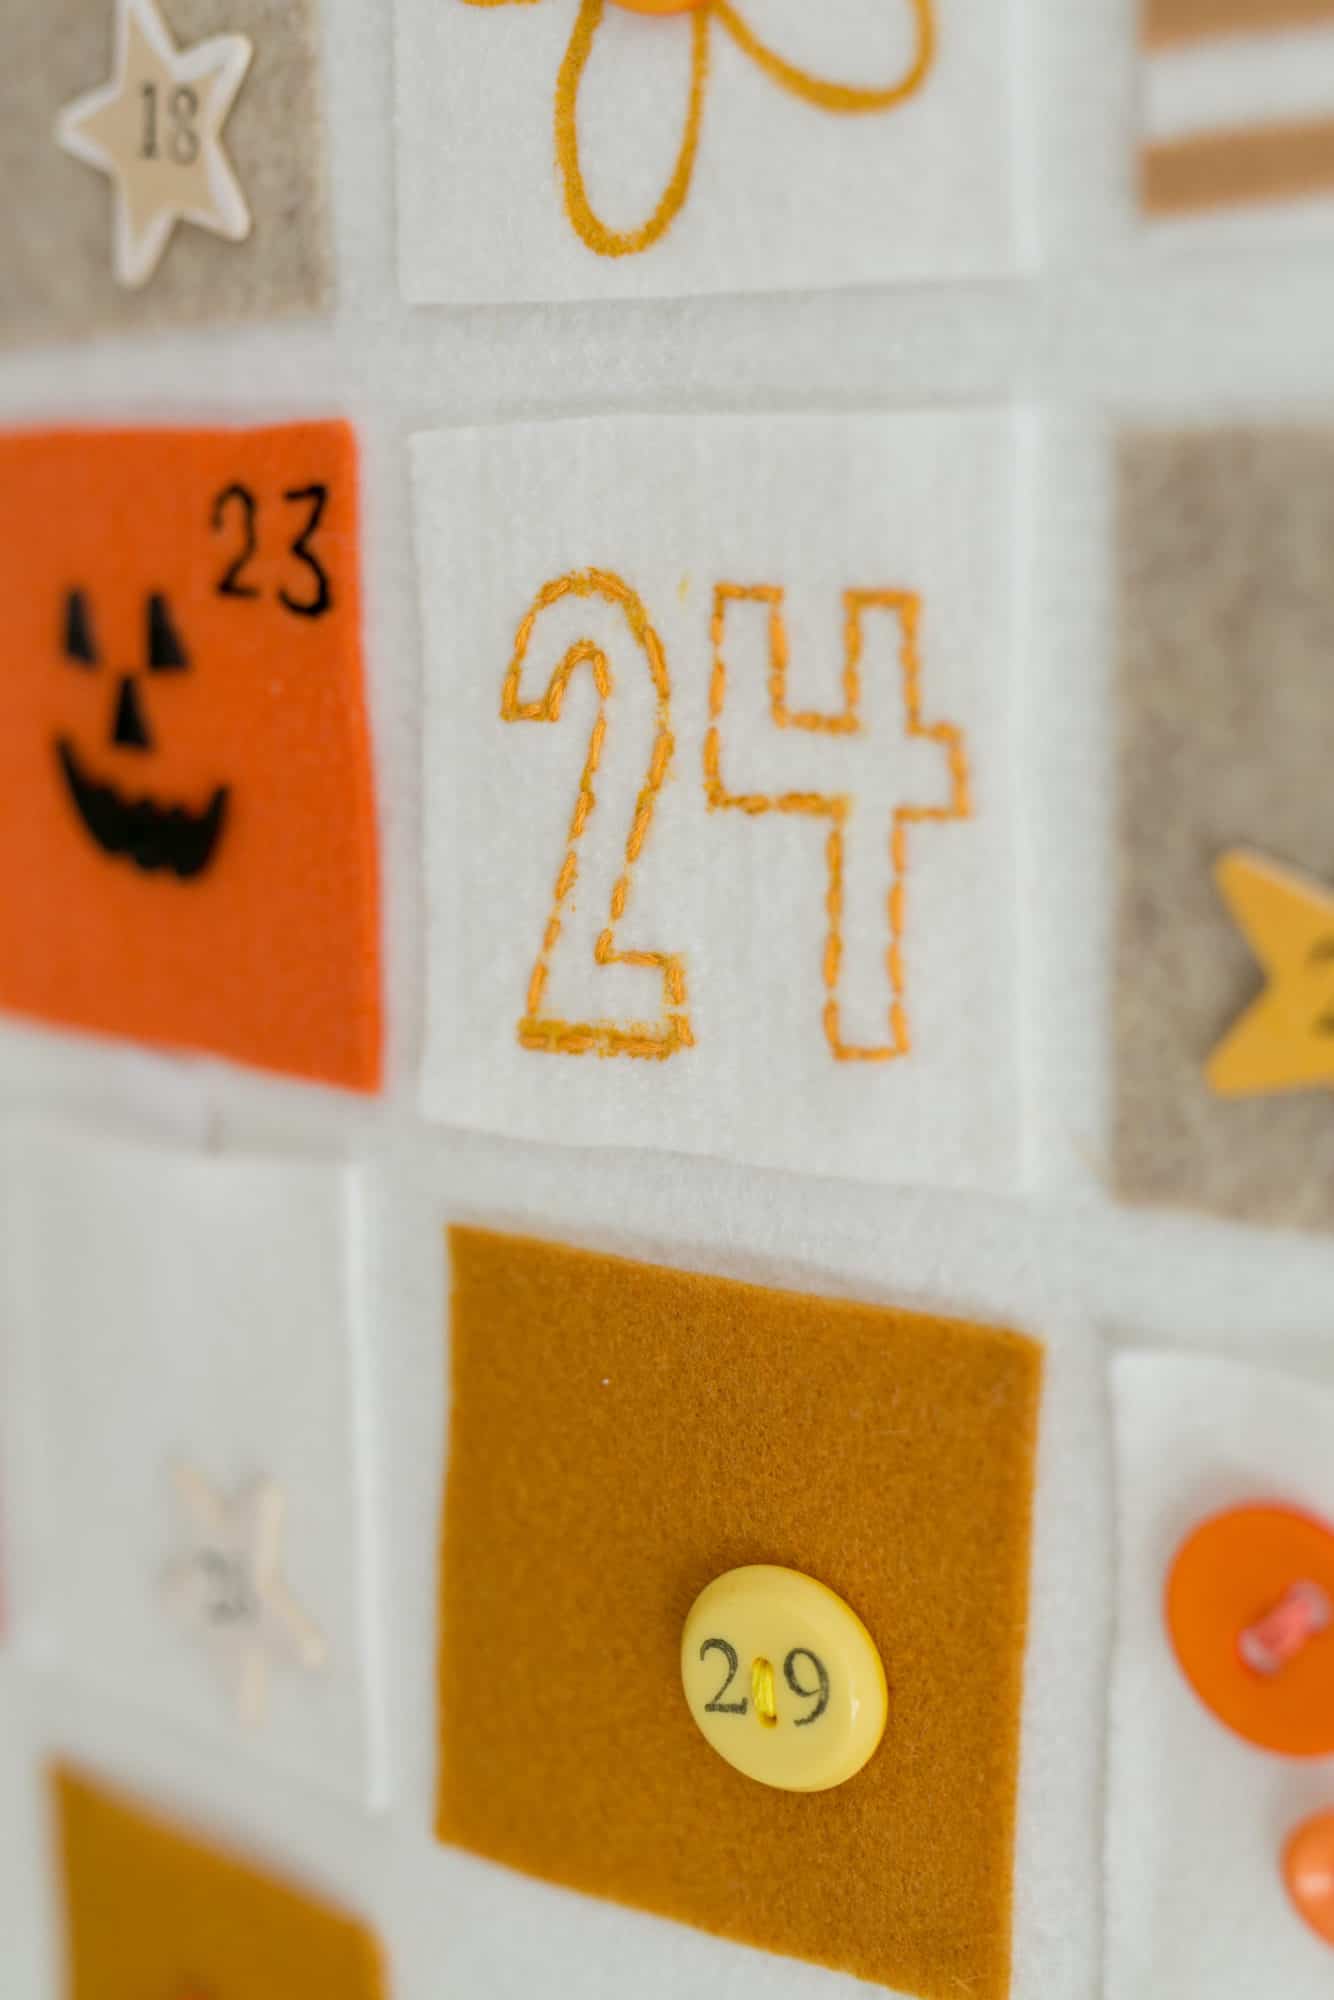
So far as the DIY goes, this can be a fairly easy venture. I accomplished it over a two-day interval. I most likely spent about 4-5 hours on it. It might take half the time for those who simply eradicated the embroidery stitching, however I actually take pleasure in doing that and just like the look of it.
Provides:
-dowel rod
-large piece of felt for banner (I obtained a half yard on the craft retailer).
–colored felt for pockets
-embellishments for pockets (I used quite a lot of buttons, some embroidery, stamps with everlasting ink, a little bit of paint, and a few picket stars).
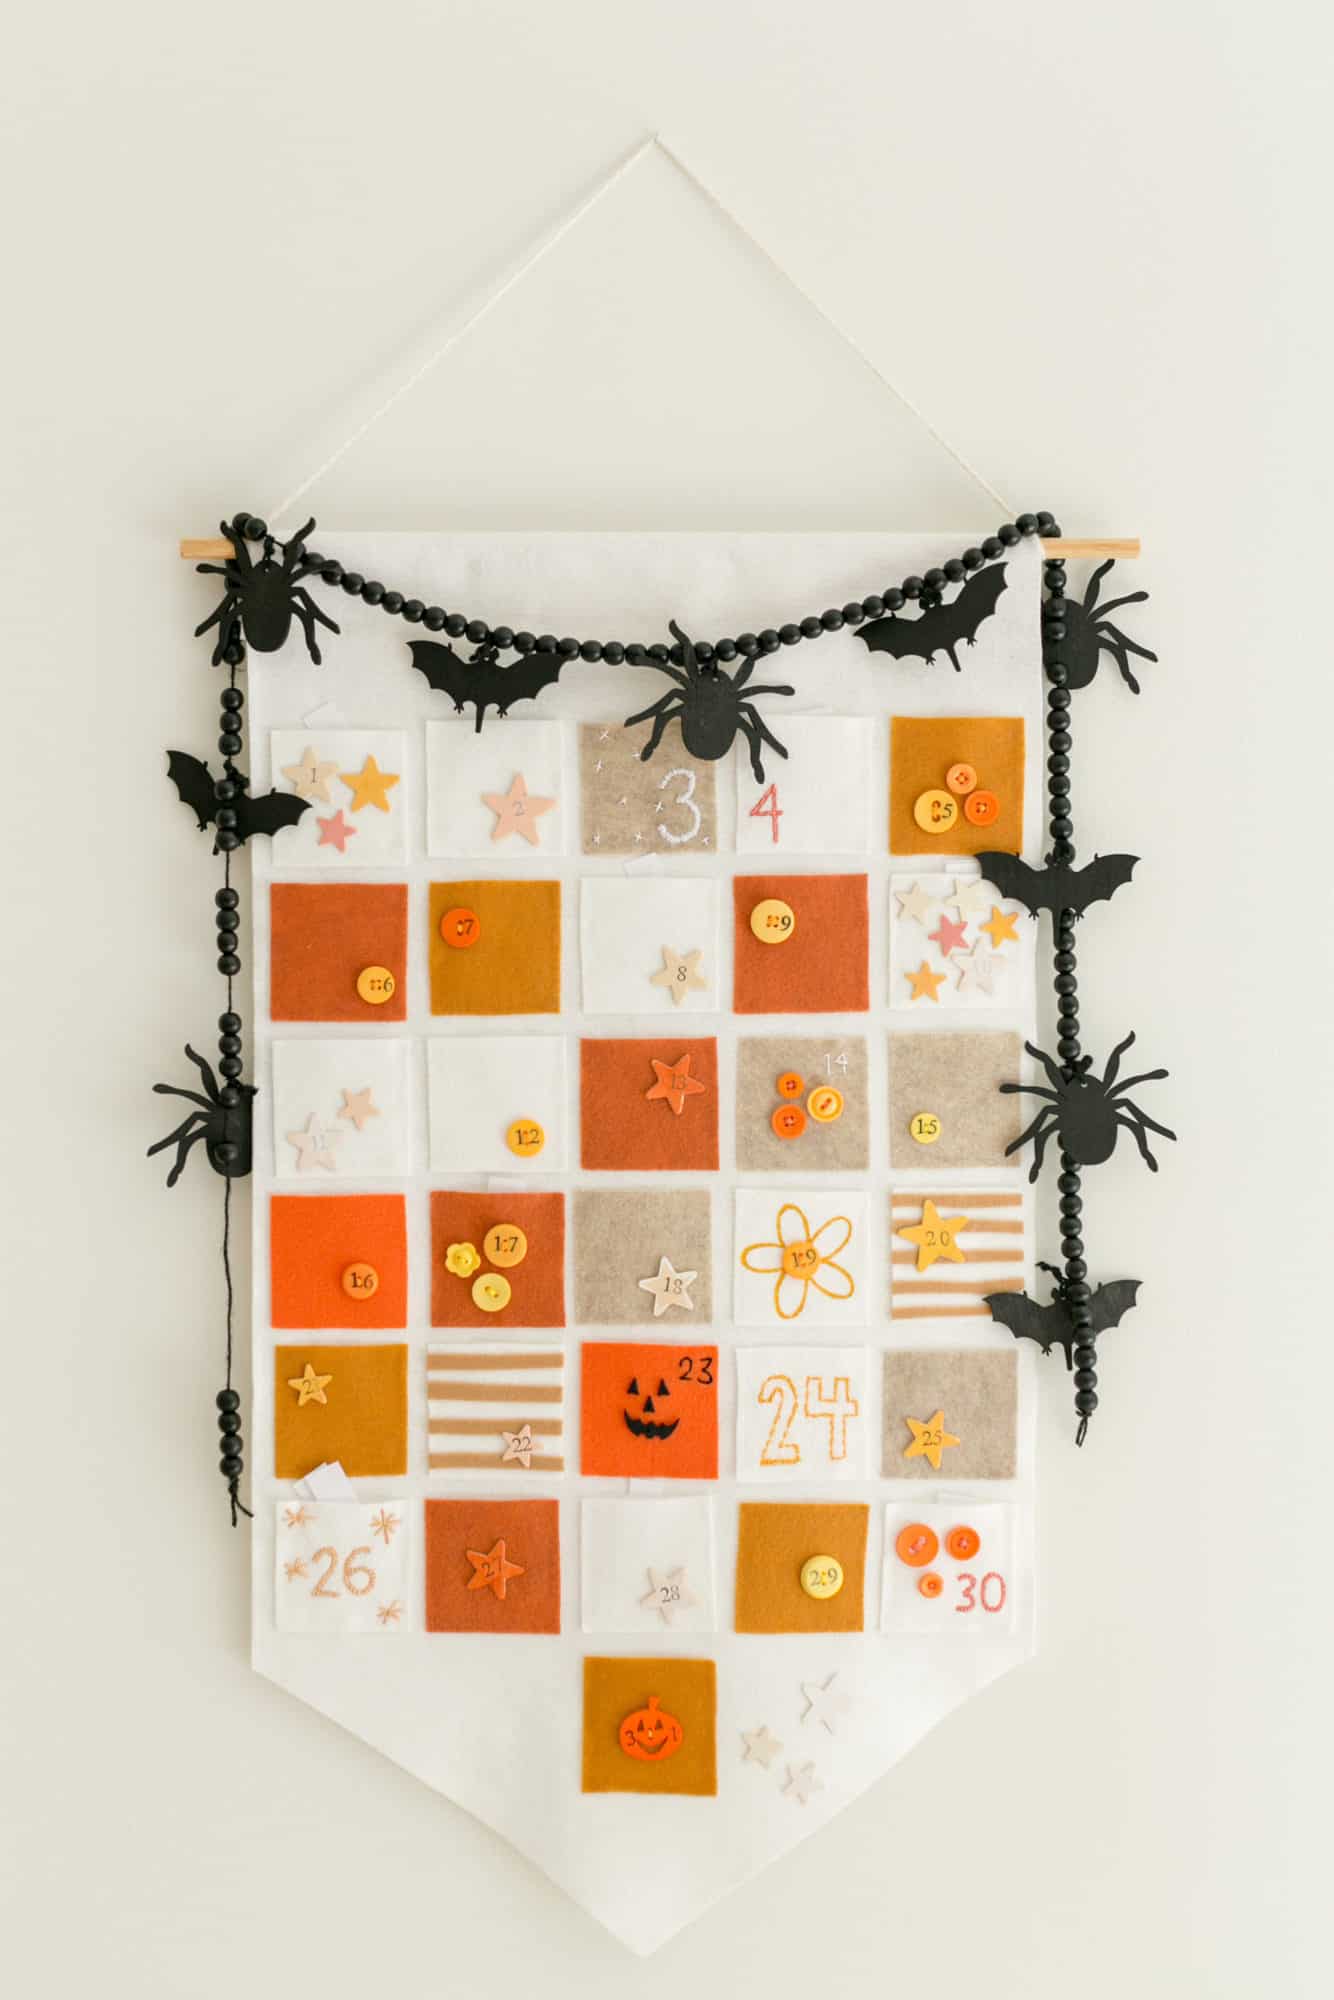
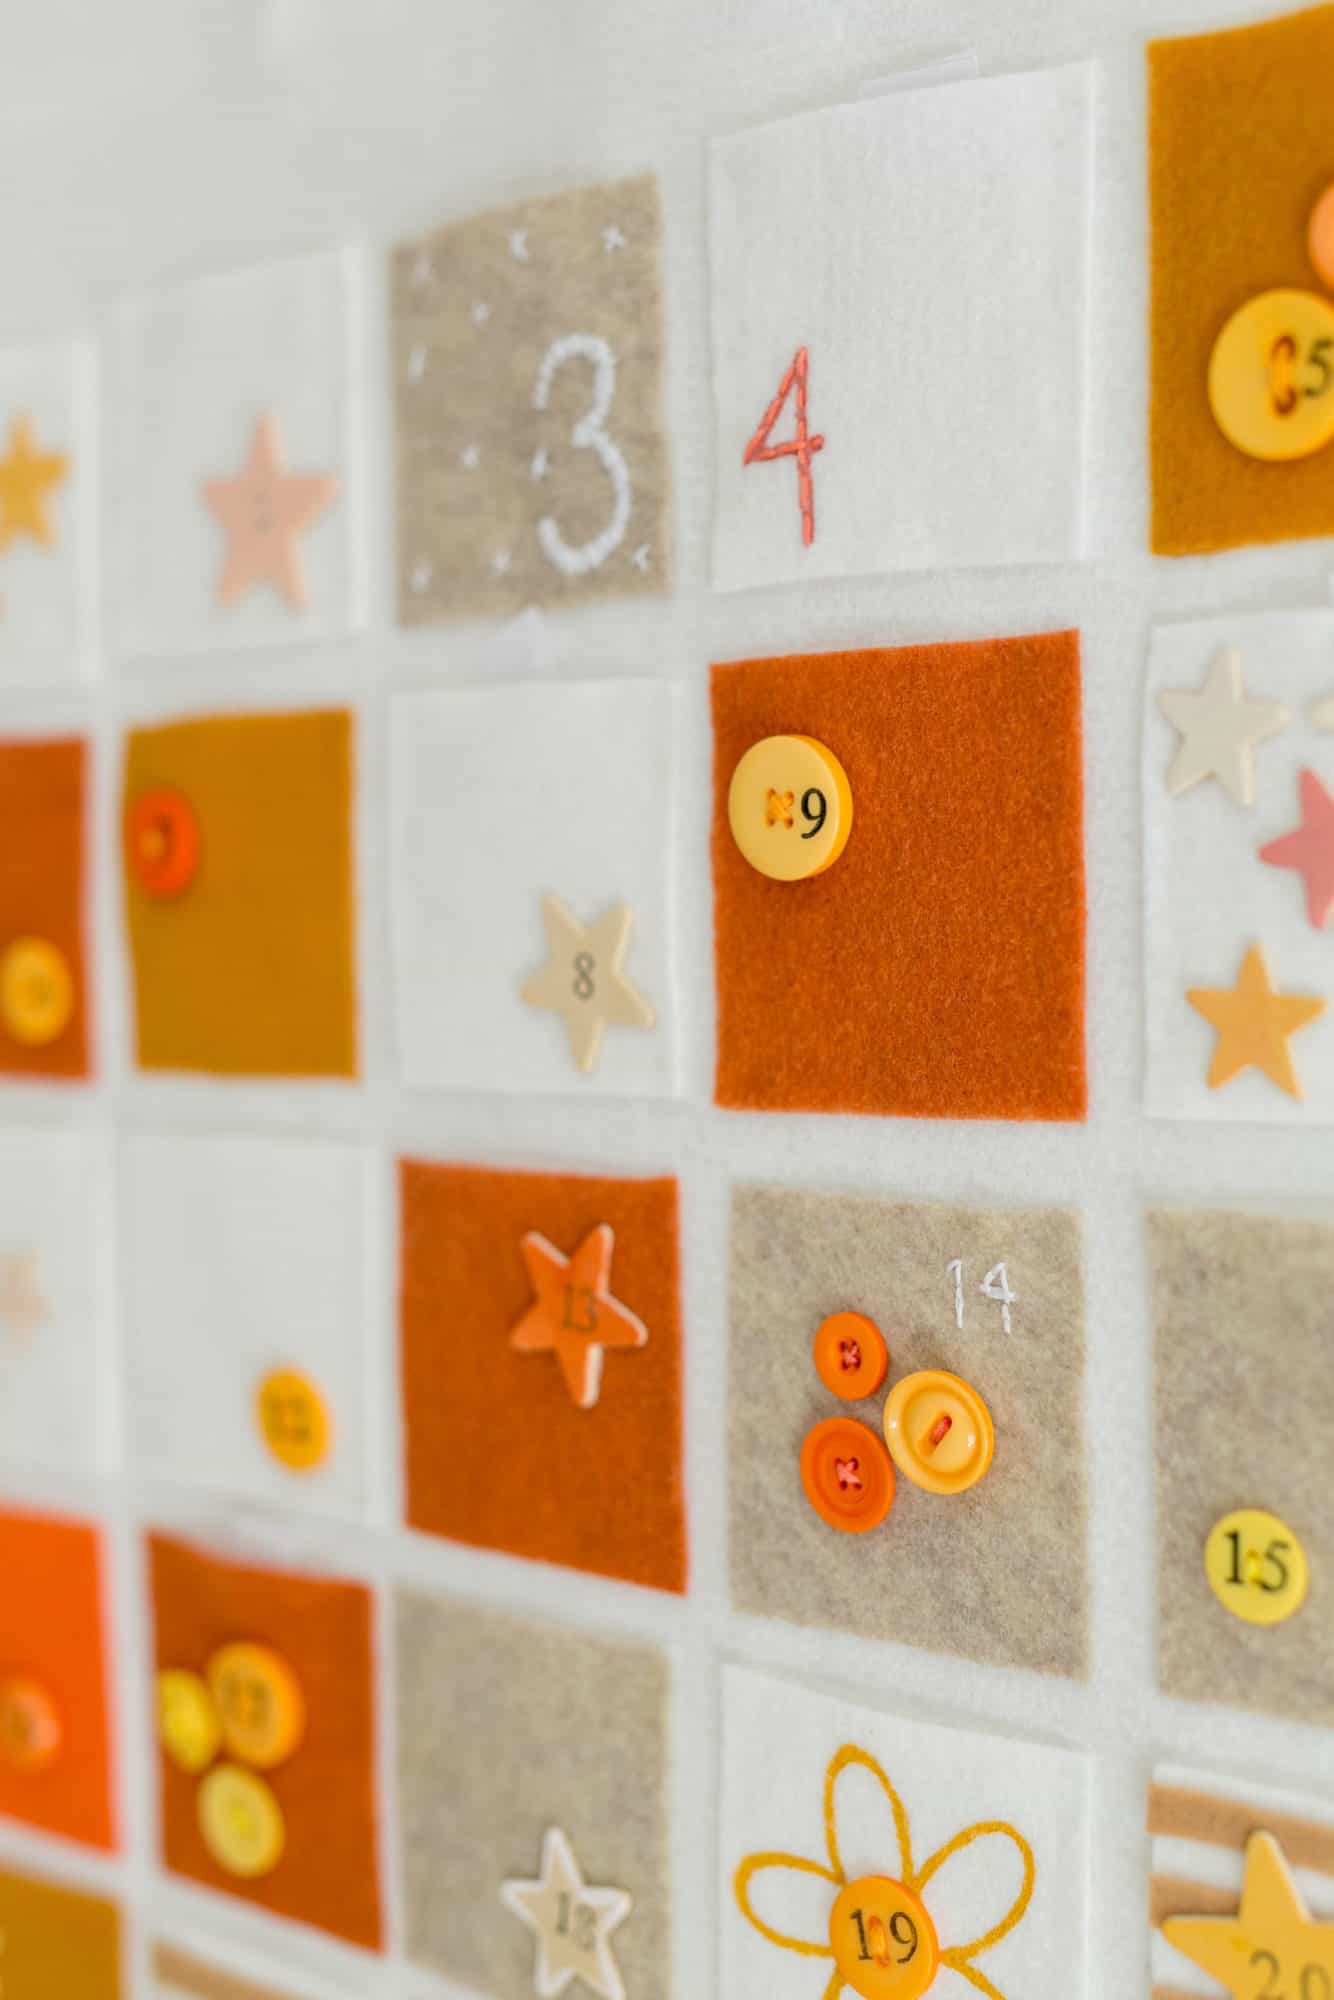
My full banner is eighteen inches large and 32 inches lengthy. Every pocket is 3×3 inches.
 Step one is to chop out your banner and the 31 pockets. I embellished all of the pockets earlier than gluing them down. You can too sew them for those who like.
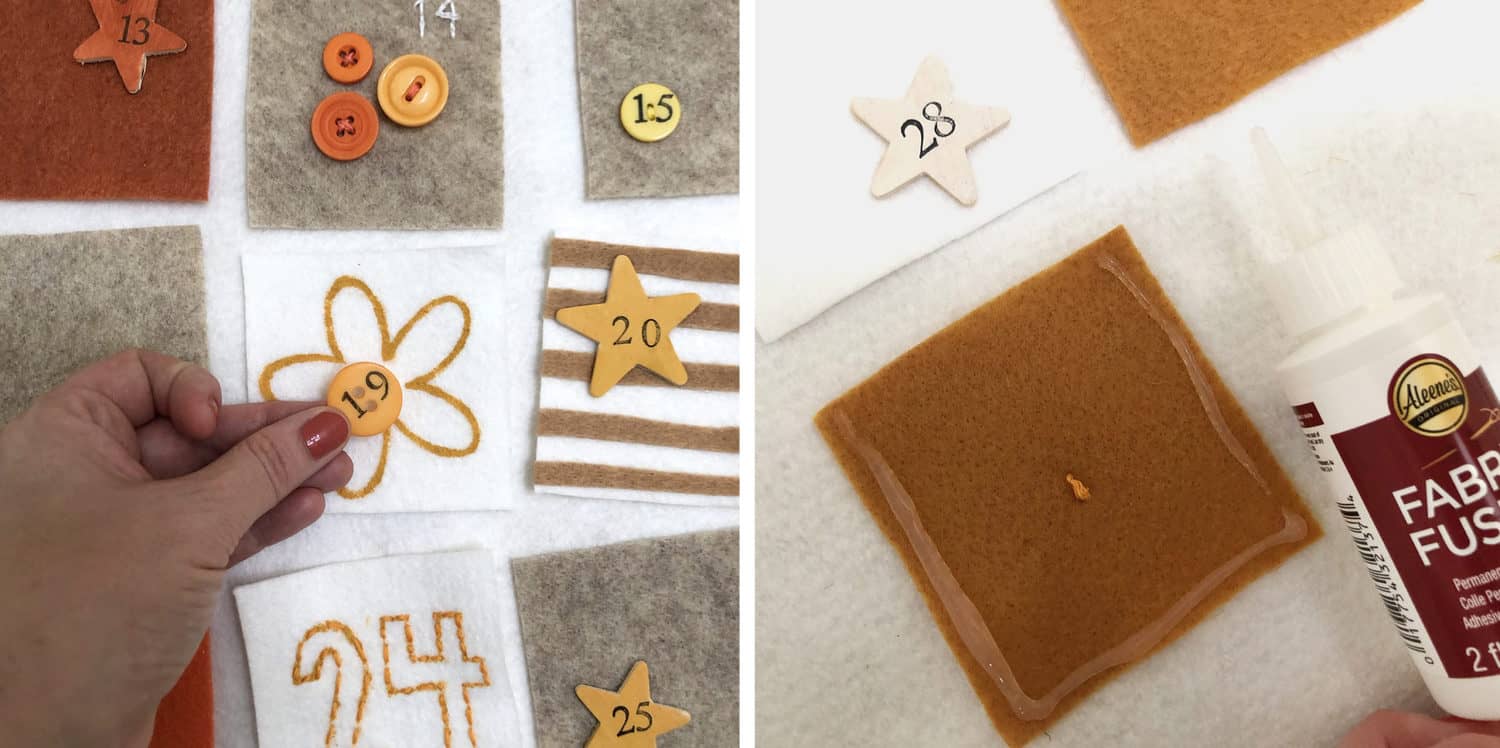
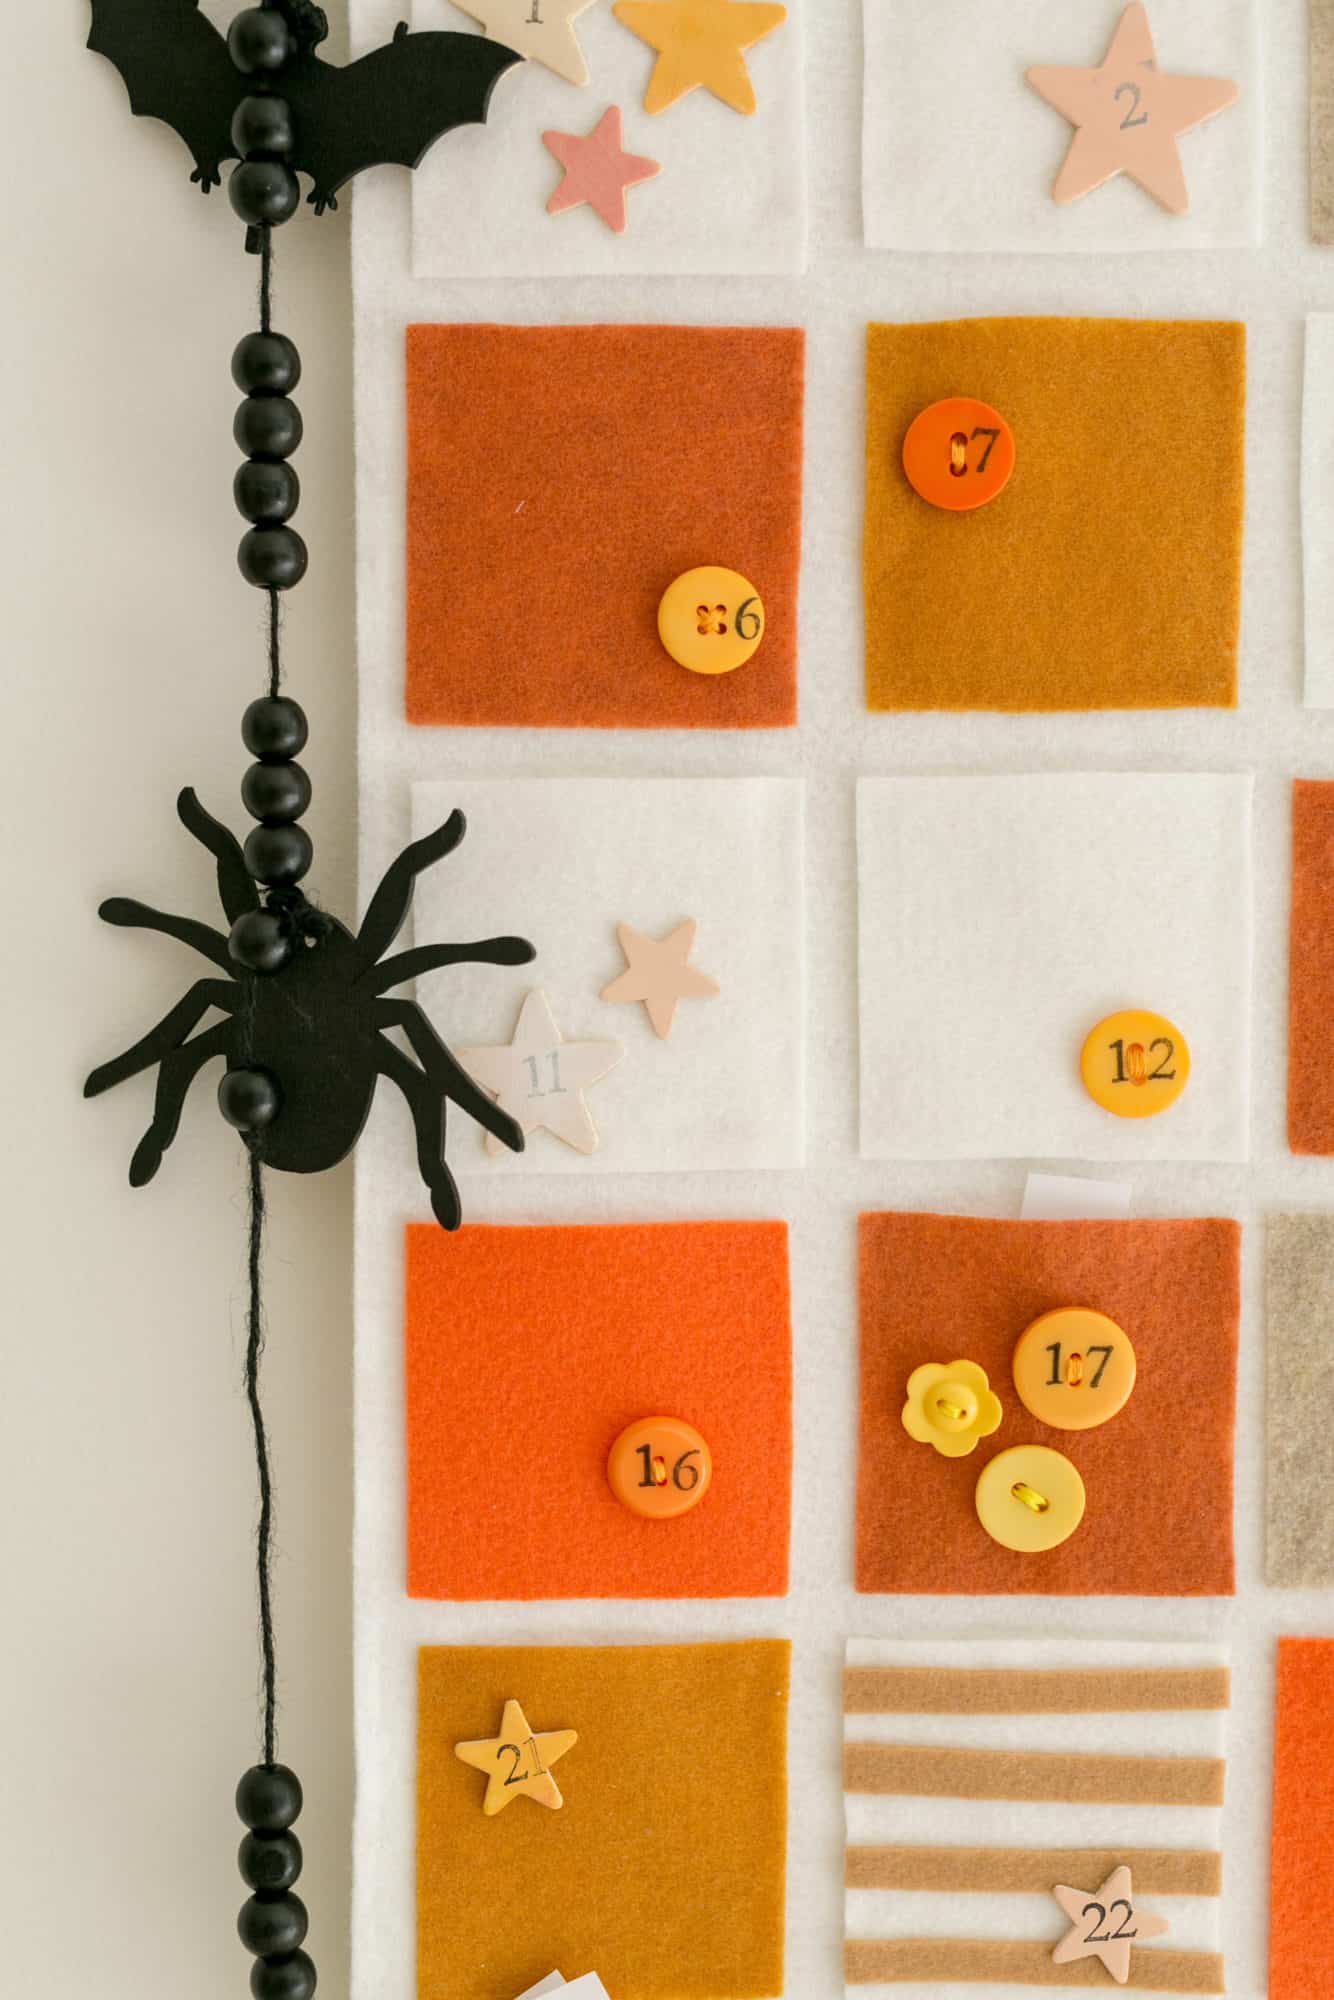
I like to put all of them out and embellish till it feels finished. I did quite a lot of stamped buttons and stars. The buttons are sewn on and the wooden stars are glued on.
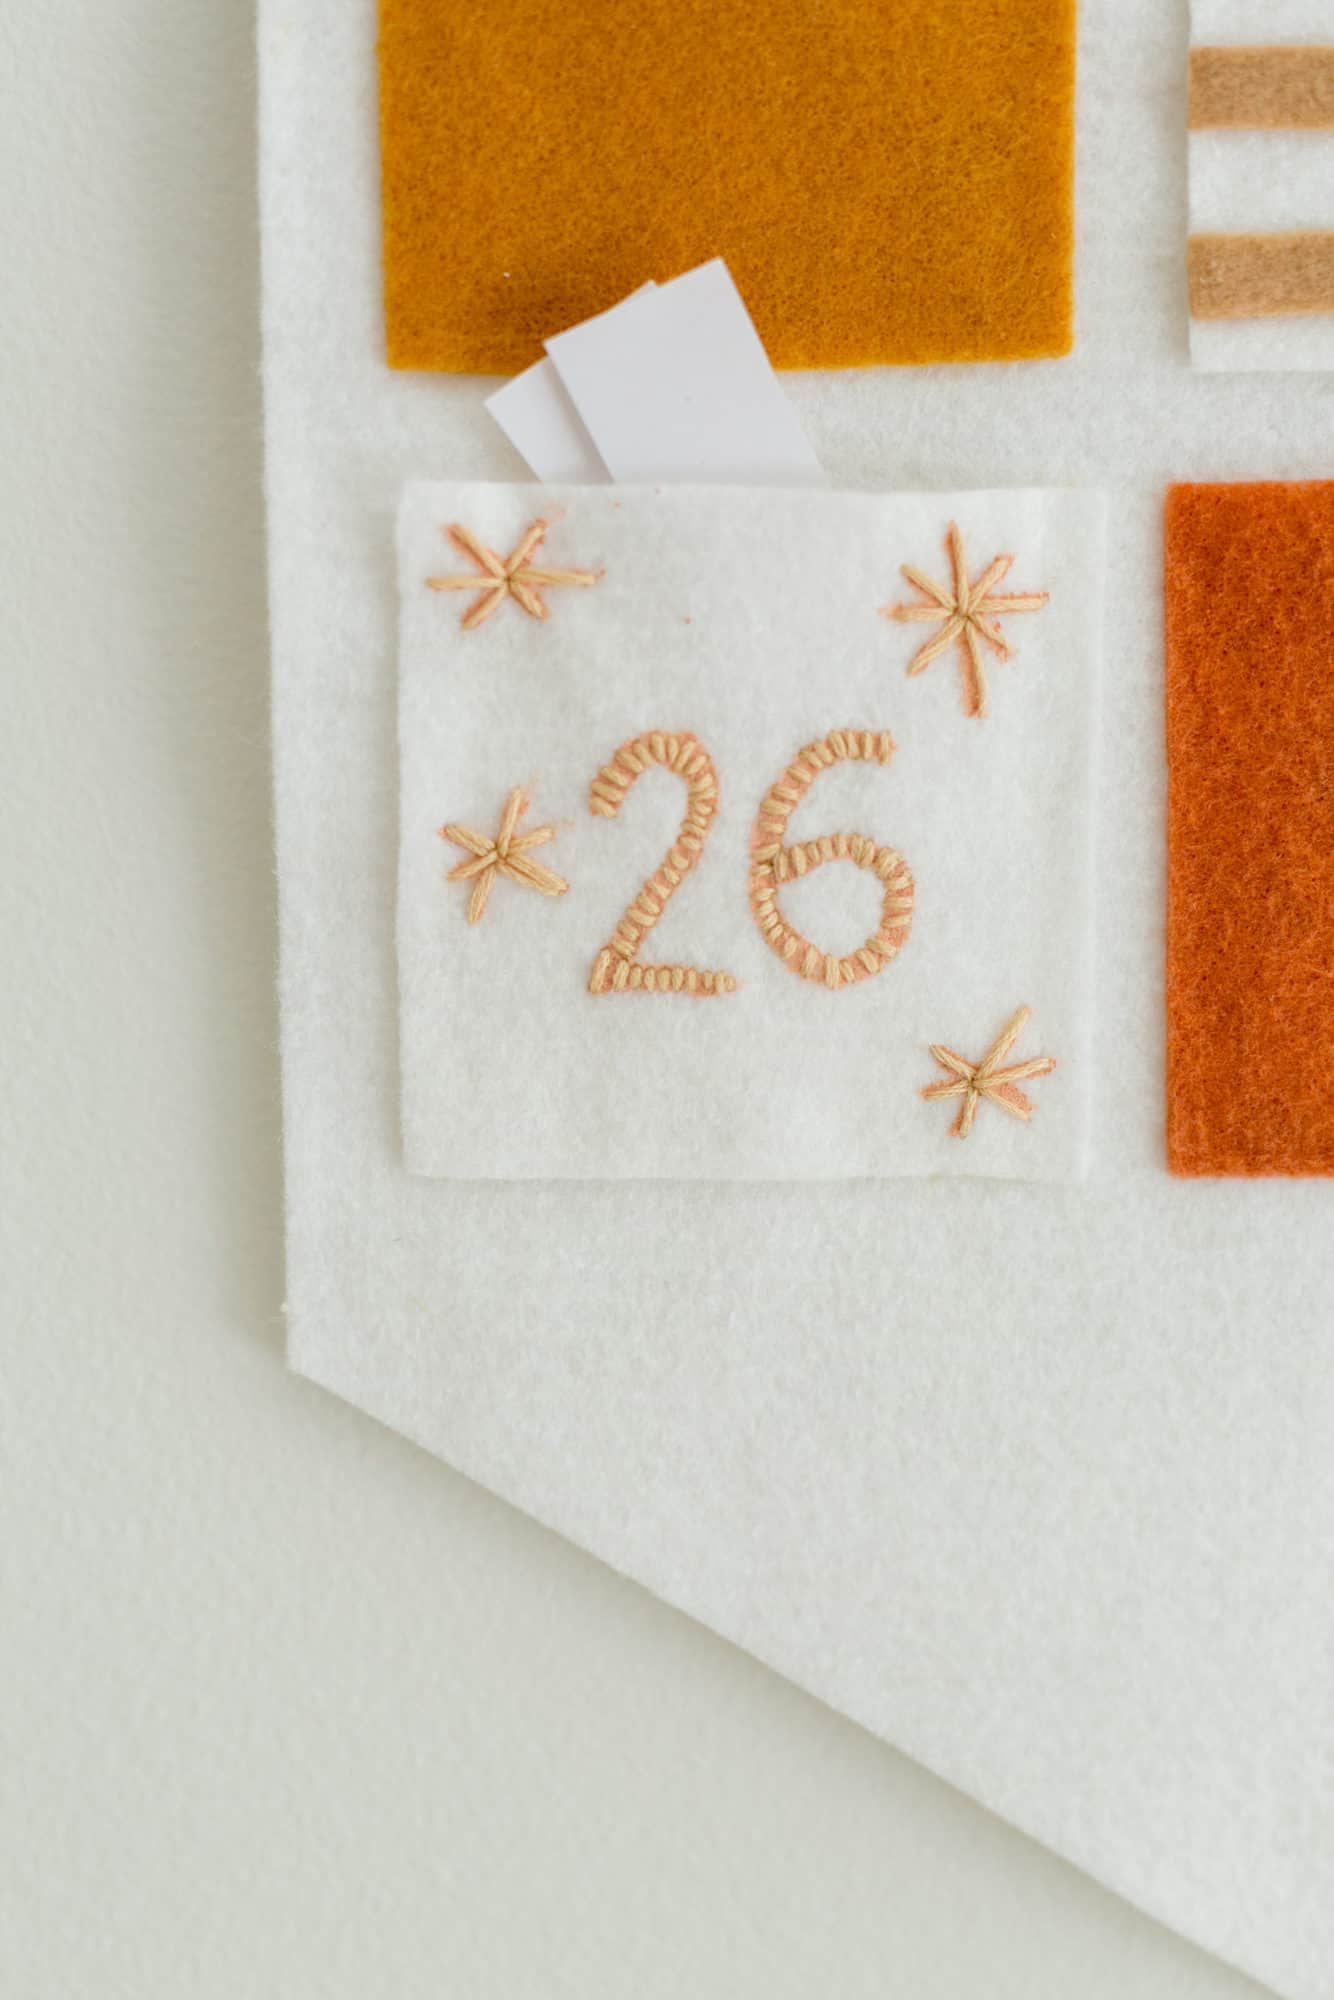
After all of the gildings have been finished and dry, I used glue on three sides of every piece of felt to create a pocket.
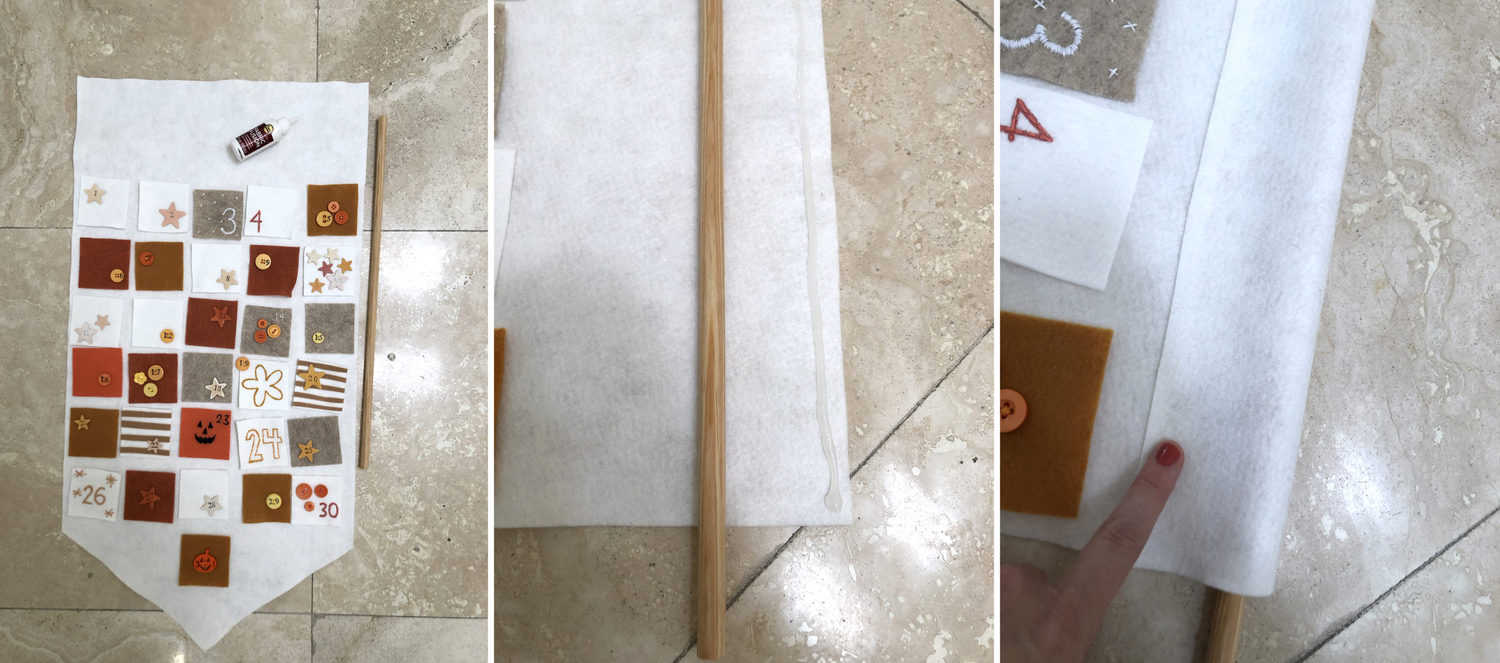 Subsequent, use glue to create a loop that holds your dowel rod in. Then, tie a string to every facet of the rod to hold it on the wall.
As you’ll be able to see in my photographs beneath, I additionally used halloween garland to make mine somewhat extra spooky. This pumpkin button is so cute, too.
Right here’s the finished calendar! I can’t await October to begin utilizing it with our women, however I needed to put up it right here early sufficient so that you can have time to get all of the provides and make yours earlier than October begins!
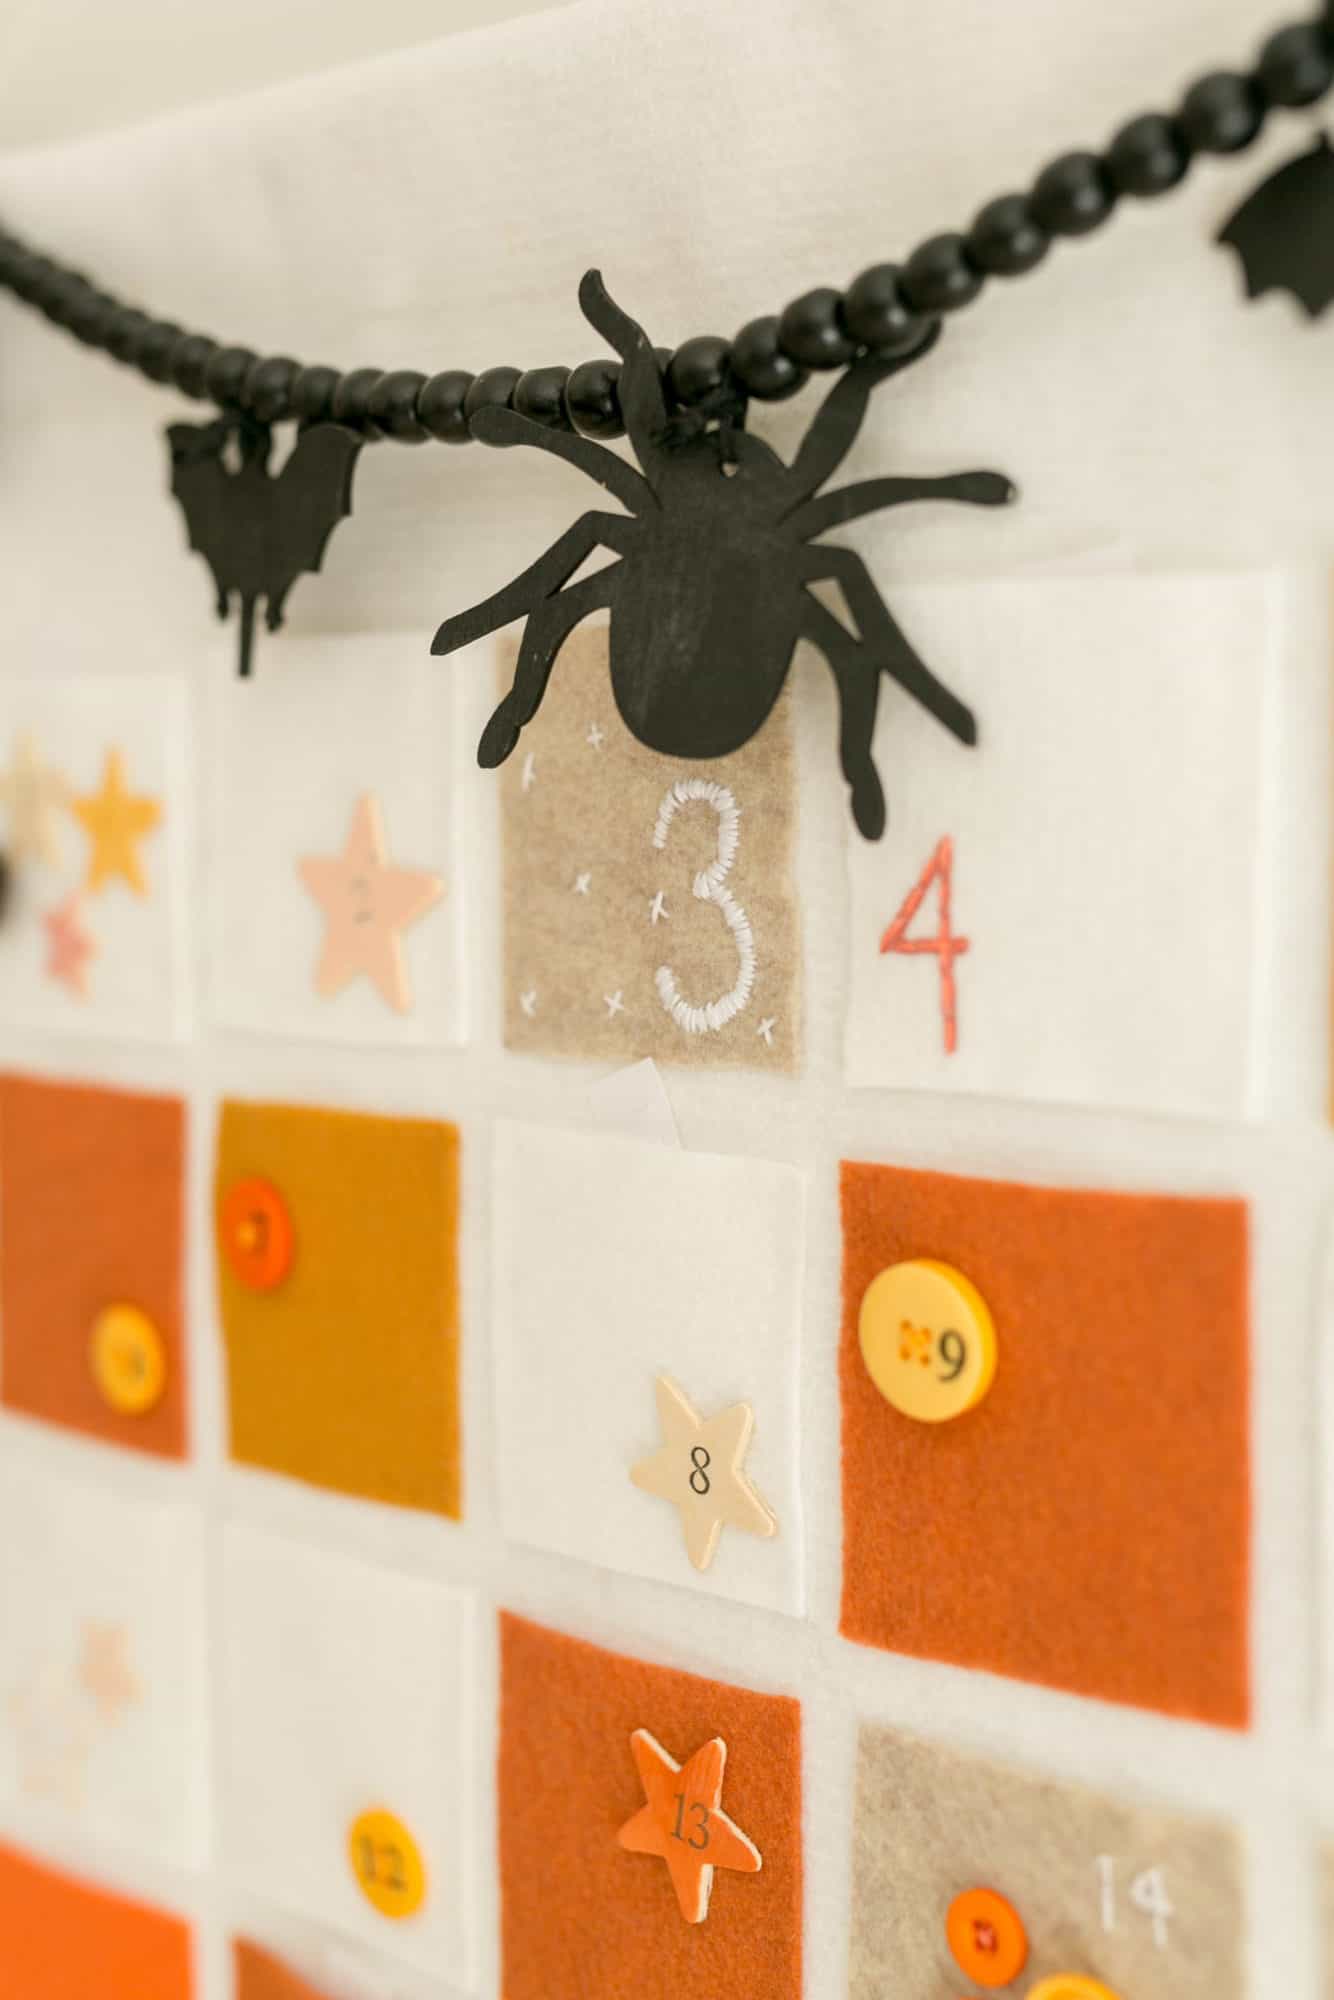


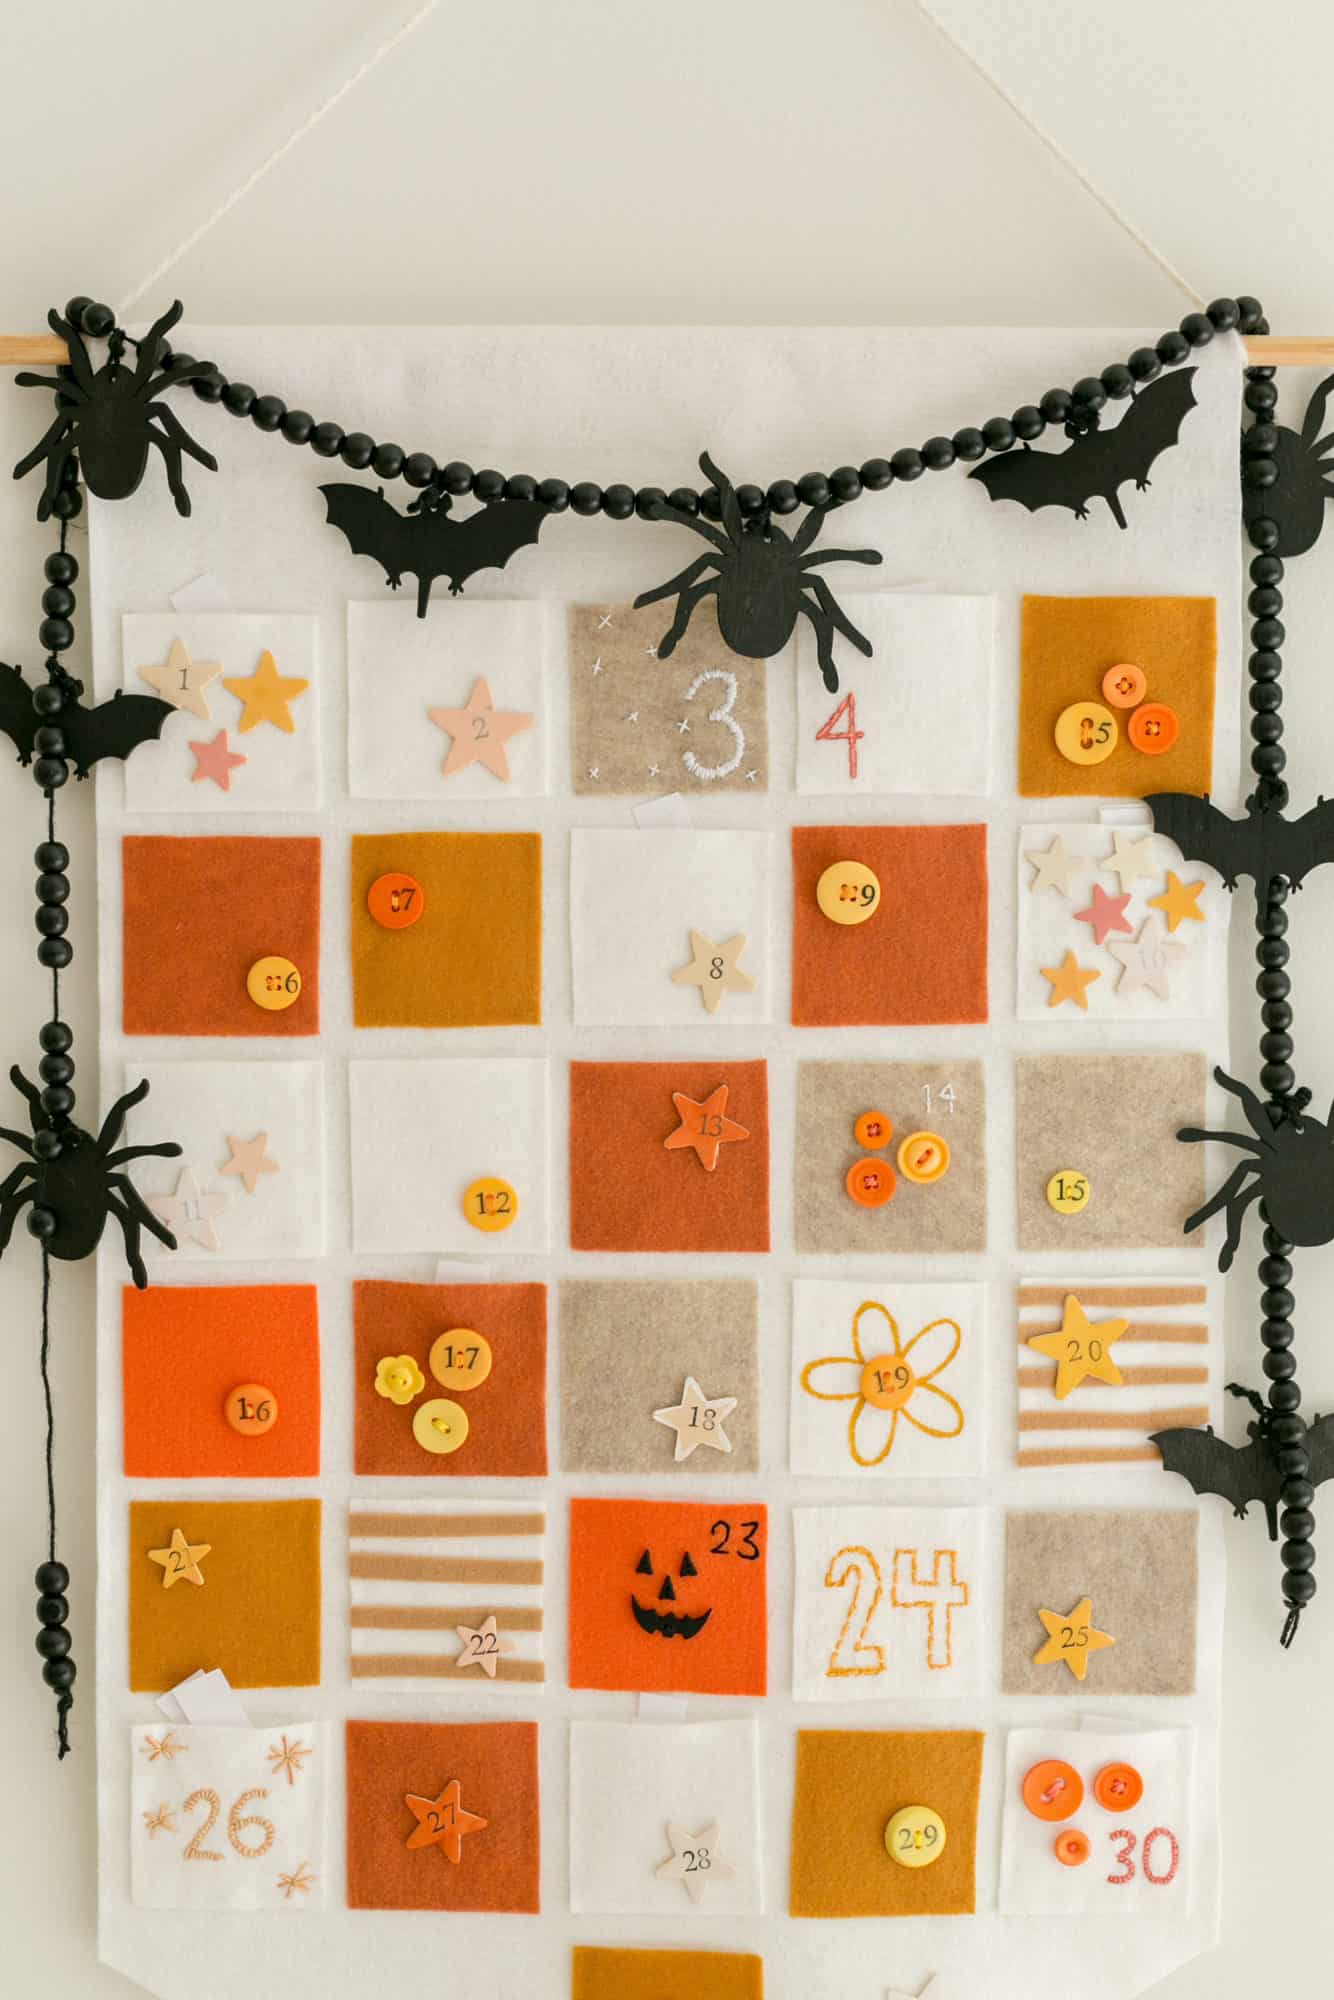
 It appears to be like so cute with a garland hanging round it too (right here’s a DIY for a cute picket spider garland!). Wishing you a magical spooky season. Soak it in! xx. Elsie
Extra Halloween Concepts
Love this put up? Join our e-newsletter for extra concepts!

Get inventive concepts for recipes, crafts, decor, and extra in your inbox!

Get the How-To
The way to make a cute felt calendar to rely down the times to Halloween!
Directions
-
Step one is to chop out your banner and the 31 pockets. I embellished all of the pockets earlier than gluing them down (you can too sew them down, however I simply moved and I don’t even know the place my stitching machine is for the time being).
-
I like to put all of them out and embellish till it feels finished. I did quite a lot of stamped buttons and stars. The buttons are sewn on and the wooden stars are glued on.After all of the gildings have been finished and dry, I used glue on three sides of every piece of felt to create a pocket.
-
Subsequent, use glue to create a loop that holds your dowel rod in. Then, tie a string to every facet of the rod to hold it on the wall.
